I also decided to tackle one of my biggest DIY projects to date. Thankfully Dan jumped on board and helped me too. When we moved in we had half-wall oak paneling throughout the whole downstairs. We have since ripped it out and Dan is still in the process of repairing and painting those walls. Here is a picture of part of the living room sometime last fall for reference.
Ever since he ripped those down they have been sitting in the basement against a wall. We will get rid of them at some point but I have been trying to think of anything we could re-use them for. I have seen so many pretty DIY headboards online and figured I would give it a try (after all the wood was free for me anyway). I will tell more about how we went about that project later on in the post but it went beautifully and we both loved the outcome.
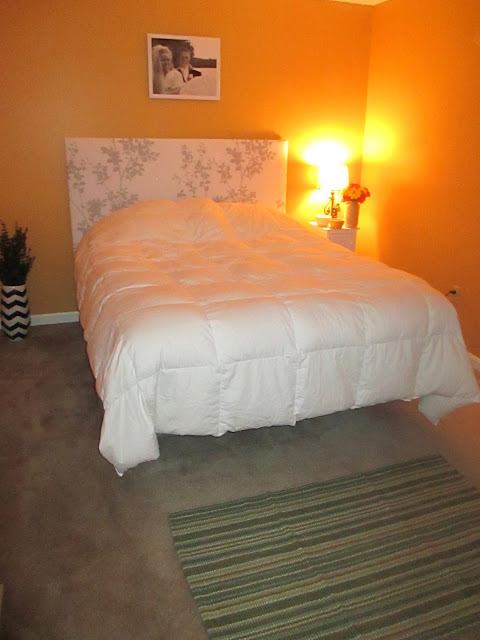
So here are some pictures of the updates and finished headboard...
Sorry about the lighting. There wasn't much daylight left when I took these.
 |
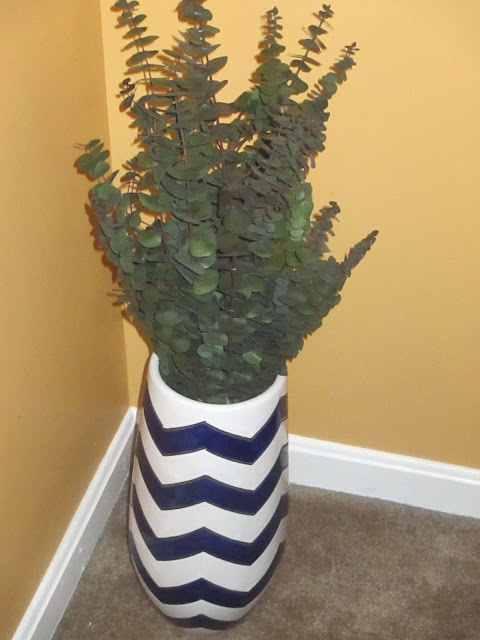
| This vase had the blue and white that we wanted to add more of to match the blues in the glider cushion. |
 |
| This area rug breaks up the large area between the foot of our bed and the closets a little bit and also added the blue and green colors that we wanted. |
I love the updates but as I mentioned in the last post we will be keeping our eyes open for some additional things for the room. I love getting good deals so I will add more as I find great prices on things that we will like for a long time. Some of these things include:
- A trunk or basket for the foot of the bed (to hold extra blankets)
- A blanket that can go on top of the comforter that matches the color scheme
- Some pillows for the bed that match the color scheme
- Side tables
- Family pictures or pictures of Logan for either side of our wedding photo
I have had a few questions about how we made the headboard so I wanted to share the steps we took.
We had seen some ideas online and figured it couldn't be too hard. One of the hardest parts for us was that we needed to use two of the panels in order to get the right width for behind the bed. If we had paid more and bought one sheet of ply wood we could have avoided that all together. I am happy however that we re-used the wood that we already had.
We went to Lowes and grabbed some support beams to screw into the back of the boards to hold them together tightly. We didn't want to take any chances with it breaking so we spent about $5 on these support boards that Dan screwed to the back of the panels. Here is a picture so that you can visualize the process.
The next step was picking out the fabric. This was by far the hardest part of the whole process. I checked out four or five fabric stores. I also found out that my favorite one in the area is going out of business... I was so sad. We ended up finding one that we loved at hobby lobby but it was going to be $60+ to buy the amount that we needed. I was willing to do that for something that we are going to have around for a long time but I decided to try one last thing first. I thought I would check at TJ Maxx for a shower curtain that would cover the whole thing in one straight shot. I ended up finding one for $16 that was a perfect thick material. I ended up loving it even more than the fabric that we found at hobby lobby because it lightened up that end of the room much more than the other one would have. I would totally recommend checking out sheets or shower curtains that you may like if you are going to try one of these.
I did get the two layers of quilt batting at Hobby Lobby and that worked out great. It was about $16 for four yards of batting. I would recommend using two layers of batting so that it doesn't just look like you stapled some fabric to plywood.
When we got the batting and fabric together we started in on stapling. We made sure to pull each layer very tight and leave no wrinkles anywhere that would end up sagging. We also put a bazillion... yes a bazillion staples in so that it wouldn't loosen up at all. Here are some pictures of that process.
I spent plenty of time ironing the fabric before hand to make sure I got out any packaging wrinkles in it. I didn't want to notice a wrinkle that would drive me nuts when we were all done. If anyone wants to try this themselves and have any questions feel free to let me know. I am no expert but I can tell you how it worked for us. We spent a total of about $37 to make the headboard but it would be a little bit more if you needed to buy the wood or a staple gun. I love how it helped to pull the room together!


This looks awesome! I love the idea of using a pretty shower curtain for your fabric too - Target has the cutest ones this summer, so I'm definitely thinking of going that route with ours...once I finally make a decision! Ha. Thanks for your comment today on my blog - glad to have you following along and I really appreciate your insights!
ReplyDelete